GitHub is a Web-based Git repository hosting service. It offers all of the distributed revision control and source code management (SCM) functionality of Git as well as adding its own features.
Jenkins is an open-source continuous integration software tool written in the Java programming language for testing and reporting on isolated changes in a larger code base in real time. The software enables developers to find and solve defects in a code base rapidly and to automate testing of their builds.
Objective:
In this tutorial we will discuss how to integrate Github with Jenkins and triggering the code.
Steps to follow:
1. Download Jenkins from this link as a service in windows.
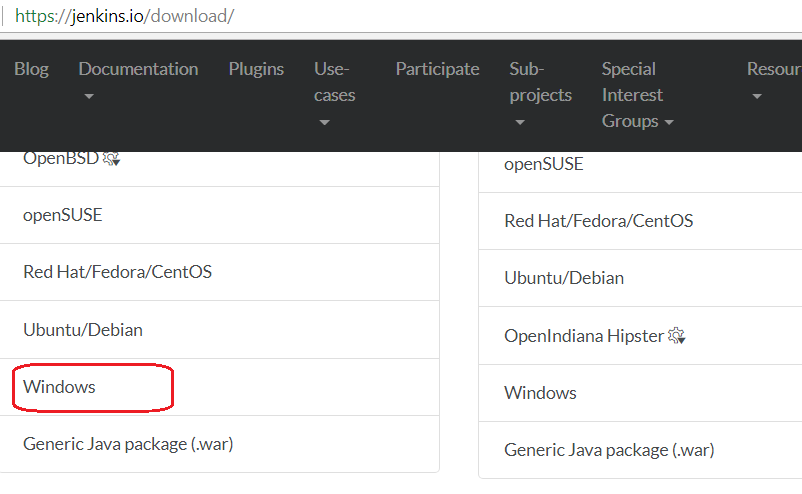
Download Jenkins
2. Open Windows Service Manager using
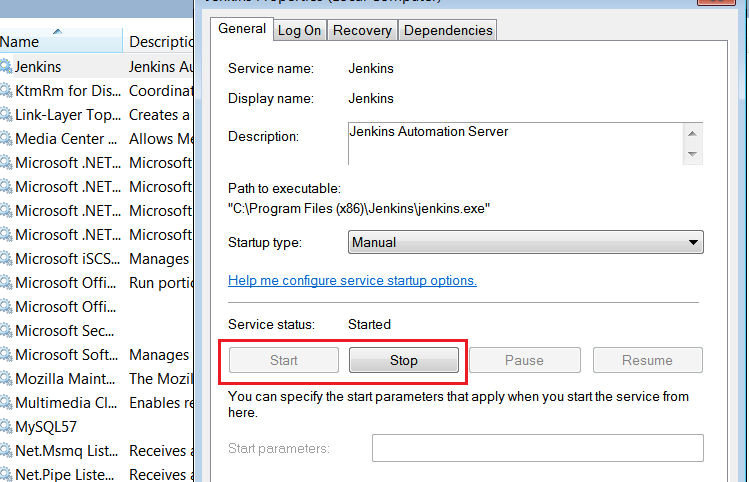
services.msc-start and stop the Jenkins service
3. Access the Jenkins URL running on the port number 8080->http://localhost:8080 for the first time. Unlock jenkins by providing Initial Admin
Password.
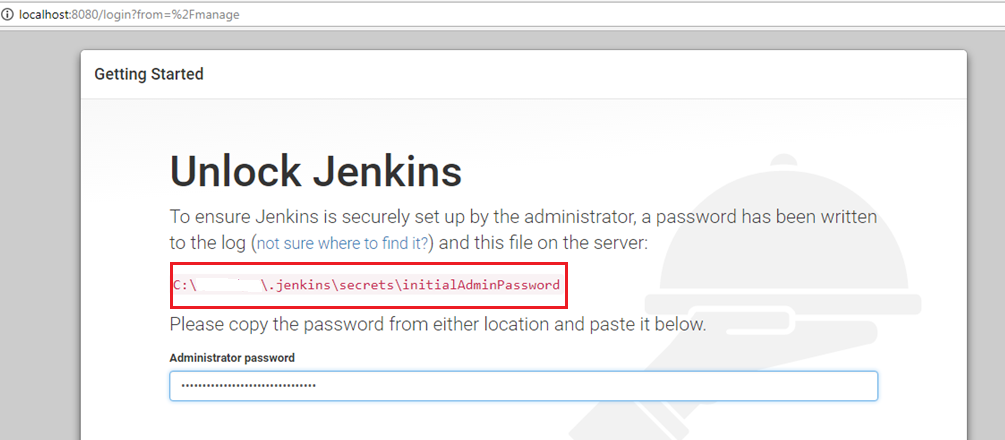
Unlock Jenkins by using InitialAdminPassword
4. Customize the Jenkins by installing the Suggested Plugins.
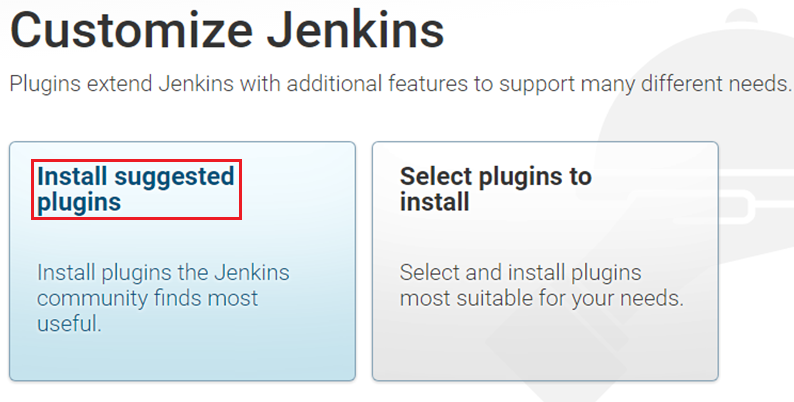
Customize Jenkins by Selecting the Suggested Plugin
5. Create First Admin User. Provide username & password as admin/admin and Click on ‘Save and Continue’ button.
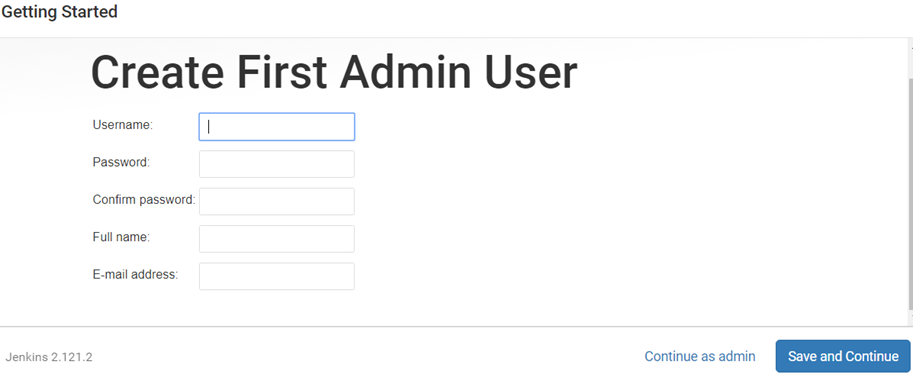
Jenkins First Admin User-admin/admin
6. Once the Jenkins Configuration is done. Click on ‘Manage Jenkins->Manage Plugins’ link to install the required plugins.
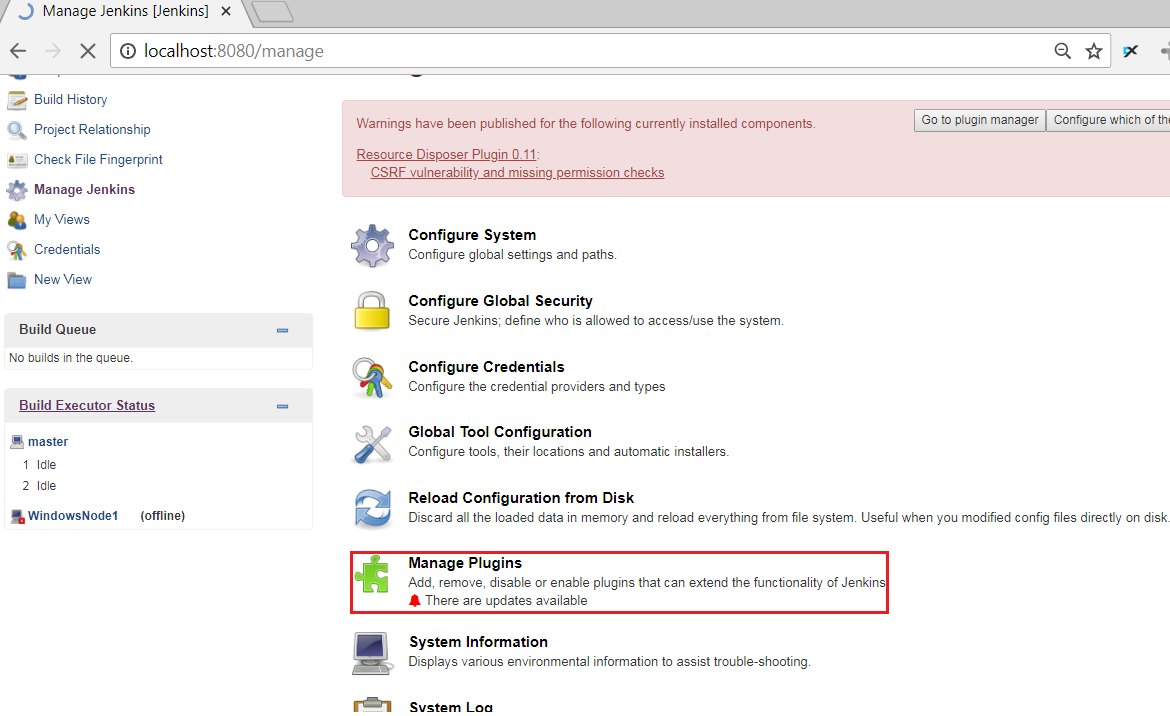
Manage Jenkins->Manage Plugins->Upload .hpi to download any plugin in Jenkins.
7. Download the Plugins manually from this link https://updates.jenkins-ci.org/download/plugins/.

Upload an .hpi
8. Update Global Tool Configuration by updating the Location of the software install by navigating to ‘Manage Jenkins->Global Tool Configuration’. Provide the location of JDK installed in the server/localhost.

Global Tool Configuration
9. Create Jenkins Job by clicking on New Item.
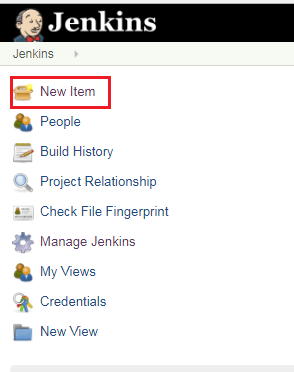
Jenkins New Item
10. Select the Maven Project option and Provide the Item Name as
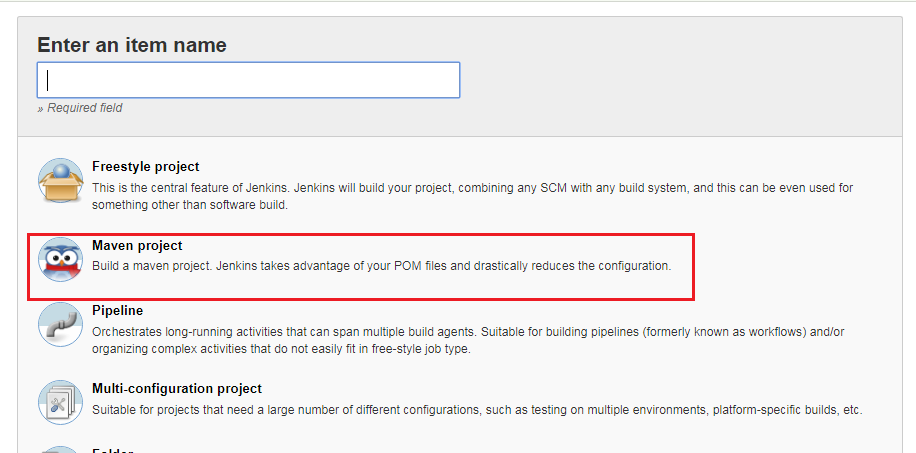
New Item->Maven Project
11. Click on Configure.
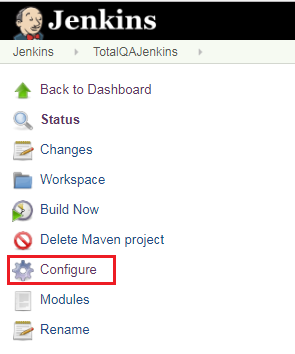
Configure Jenkins
12. Provide the Github Repository URL and select the Branch.
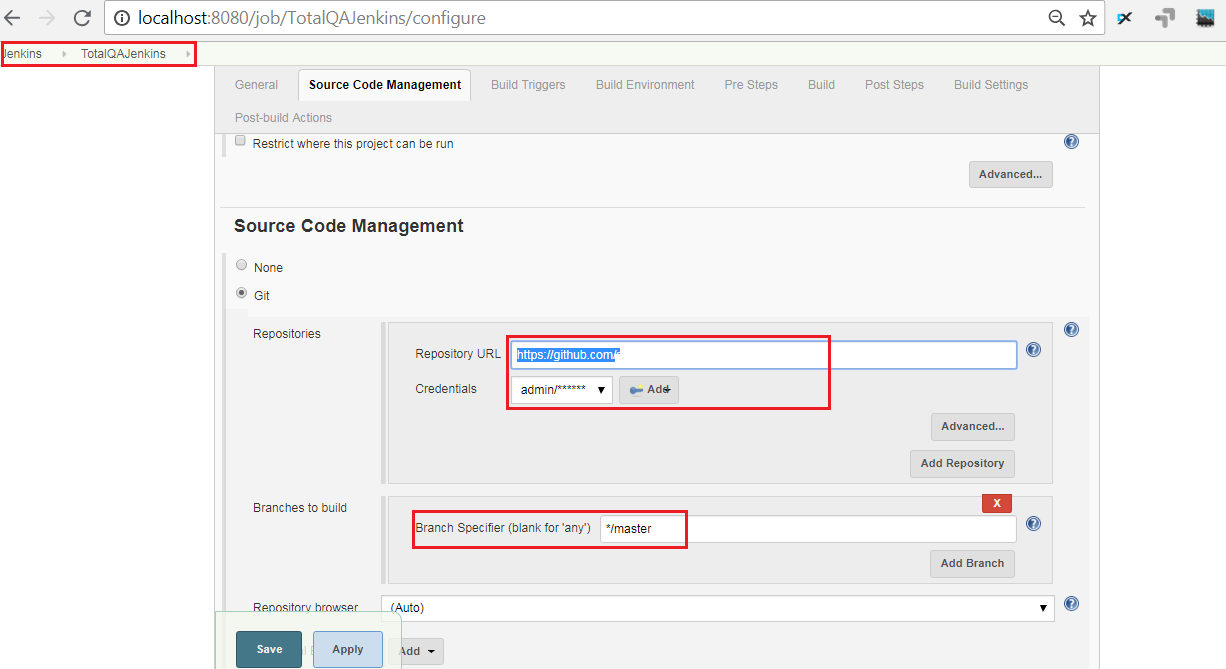
Jenkins-Github Repo->Master branch
13.Provide the Location of pom.xml and mention Maven Goals.
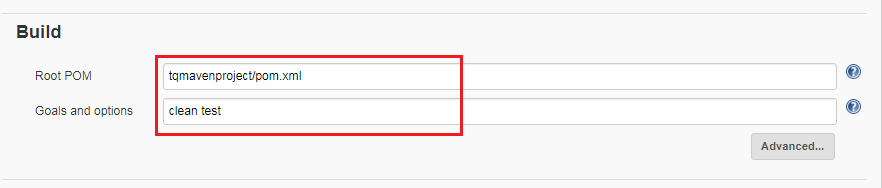
Jenkins – Maven pom.xml
14. Click on Build Now.
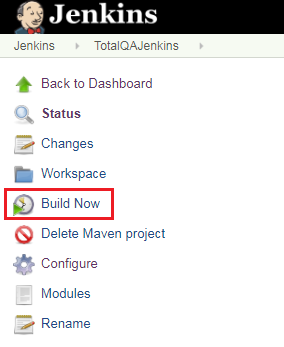
Jenkins->Build Now
15. View the Results in Jenkins->Job Name->Job ID->Console Output.
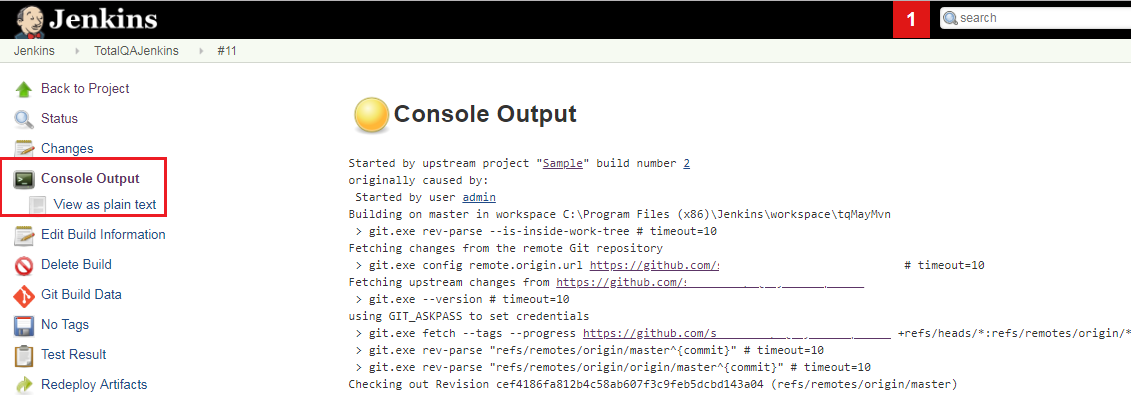
Jenkins – Job #ID- Console Output- to view Results
16. To view the Browser running in the back ground. Open the command
Perform Right Click and do the steps.
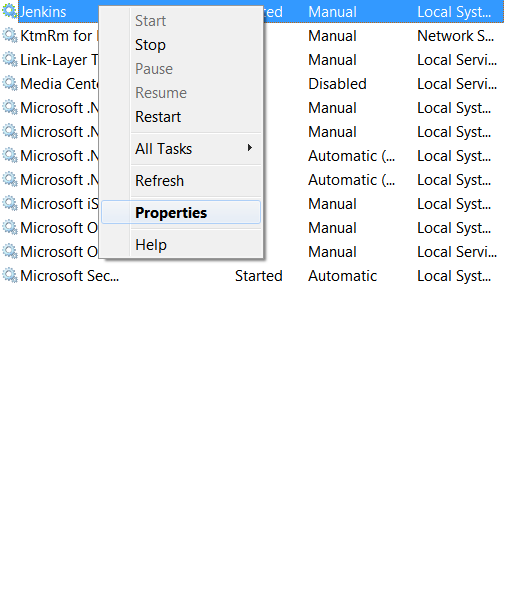
Jenkins->Properties

Jenkins ->Service>Properties
17. During the Execution the following dialog shows select the option ‘View the Message’ then
automatically we can view the execution on Browser.
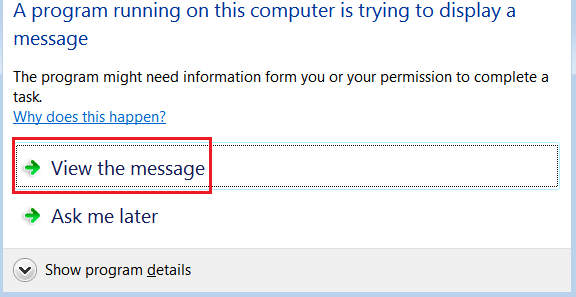
Interactive Services Detection Dialog
18. Viewing the Results in Jenkins JOB.

Jenkins Job->Test Results