Testng Installation
Installing TestNG in Eclipse
Step 1
- Launch Eclipse.
- On the menu bar, click Help.
- Choose the “Eclipse Marketplace…” option.

Step 2
- Click on Next button.

Step 3
- Enter the text as ‘testng’ and click on ‘Go’ button. In the results next to testng you will find an ‘install’ button please click on install button.
Note: In my system I already have testng so it shows two options as ‘update’ or ‘uninstall’.

Step 4
Restart Eclipse
Step 5
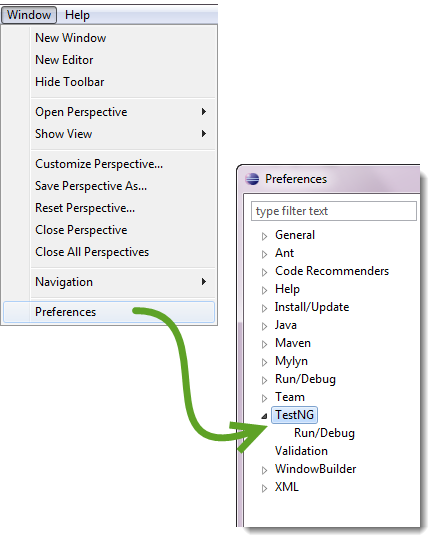
After restart, verify if TestNG was indeed successfully installed. Click Window > Preferences and see if TestNG is included on the Preferences list.
