In this tutorial we will discuss how to solve the java.lang.IllegalStateException on MAC during the execution of tests on Chrome Browser.
Before getting into point, we will discuss about File Permissions on Unix platform. Each and every file in Unix has following attributes:
Owner: Owner of the fileGroup: User belongs to a particular GroupOther: Other users
To view permissions of any file on unix use the following command:
total-qa$ ls -l chromedriver

-rw-r--r-- 1 25399 25399  chromedriver
Changing Permissions
We can modify the permissions of a file by providing following Access:
- Read
- Write
- Execute
To provide all the read,write and execute permissions for all the attributes Group,Owner and Others for a file in Unix use the following command in the terminal as mentioned below:
total-qa$ chmod 777 chromedriver

 Owner  :4 (read) + 2 (write) + 1 (execute) = 7	rwx

 Group  :4 (read) + 2 (write) + 1 (execute) = 7	rwx

 Others :4 (read) + 2 (write) + 1 (execute) = 7	rwx
We can even update the permissions of the File in Eclipse directly as well.
1. Right Click on the project and select the Properties.
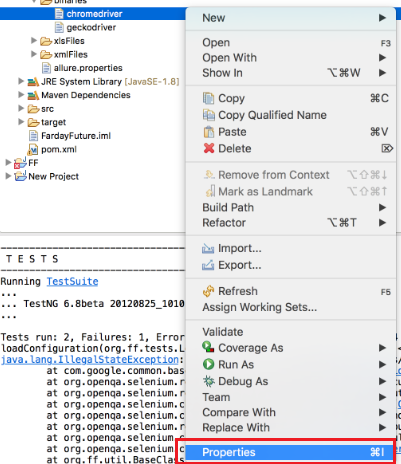
chromedriver properties on MAC
2. Select all the Read,Write and Execute permissions for Owner,Group and Others.
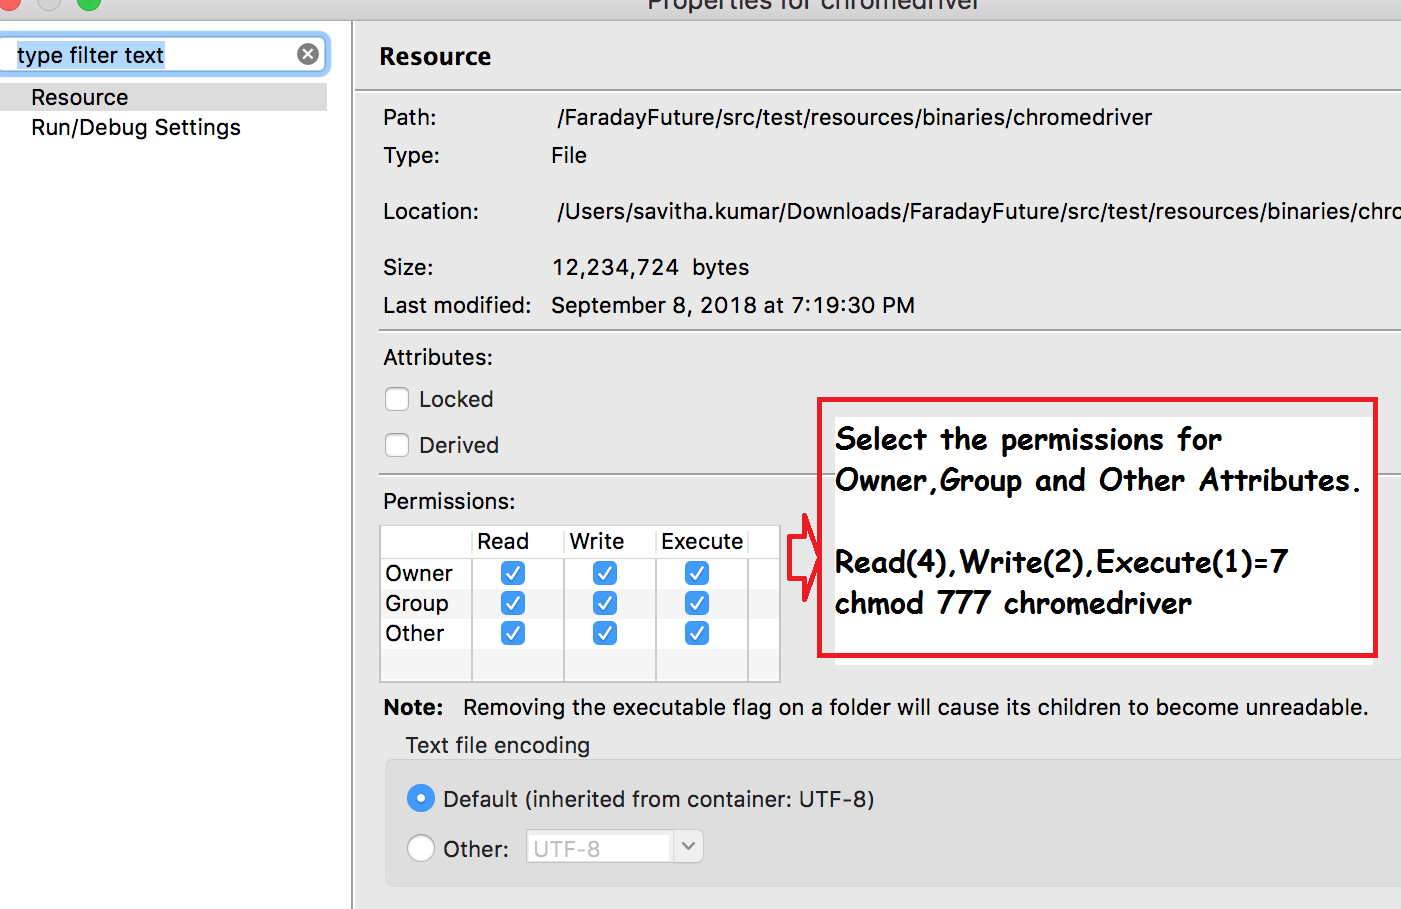
chmod:777 – Read,Write,Execute permissions for Owner,Group and Other Attributes
Conclusion:
Modifying the permissions of the file executes the chromedriver and launches the Chrome Browser successfully.